However. I am also a packrat, and have thrown away few of the containers I have collected over the years. Okay, I've thrown away plenty, but I've also saved plenty. They're just such useful little things!
One of my favorite uses for old Altoid tins is the mini kit. Sometimes I just toss supplies into an empty tin and call it good; a few I've labeled with Sharpie. But I'm an adult now, so I really ought to make nicer looking kits.
Here are two uses for an Altoid tin: a mini first aid kit and a business card holder.
I have a separate container for my most commonly-needed OTC meds (namely sudafed and ibprofen or, while pregnant, tylenol), but I do also carry in my purse a stash of bandaids (mostly for shoe blisters) and, ah, gas relief medication.
I used to carry these items in a plastic baggie, but recently the bag ripped and I ended up with smooshed and torn bandaids all over the bottom of my purse. The solution? This nifty Altoid-tin-turned-first-aid-kit.
Since I also have some business cards for my Real Job but don't have a paycheck that would fund the purchase of a thirty-dollar Fancy Business Card Holder, I decided to use an Altoid tin for that purpose, too.
First, the materials:
 |
| The white paper is just spare scrapbook paper; for the red cross I actually used an envelope from Target rather than any fancy sort of paper. |
- an Altoid or similar tin for each use
- paper for decorating the outside of your tin
- Mod-Podge (or thin out some white glue with water)
- brush for applying Mod-Podge
Trace the top of the tin onto paper.
 |
| Make sure to trace onto the "back" side of your paper, if it has sides. |
 |
| Traced. |
 |
Apply a layer of Mod-Podge to the top (bottom) of your tin. Be generous, but not so generous that excess will ooze down the sides and glue your tin shut when you press the paper on.

Press your paper to the Mod-Podged top (bottom) of the tin.
 |
| It should line up pretty evenly; if not, trim with scissors or an exacto knife. |
 |
| Outline. |
To do a red cross for a first aid kit, draw a cross onto the back of some red paper. Each line of my cross is 1/2" long, if that makes sense. Use a ruler to keep it straight!
 |
| Remember again to draw on the back side of your paper. You can see how many times I messed up the poor cross. |
Cut out the cross/other design.
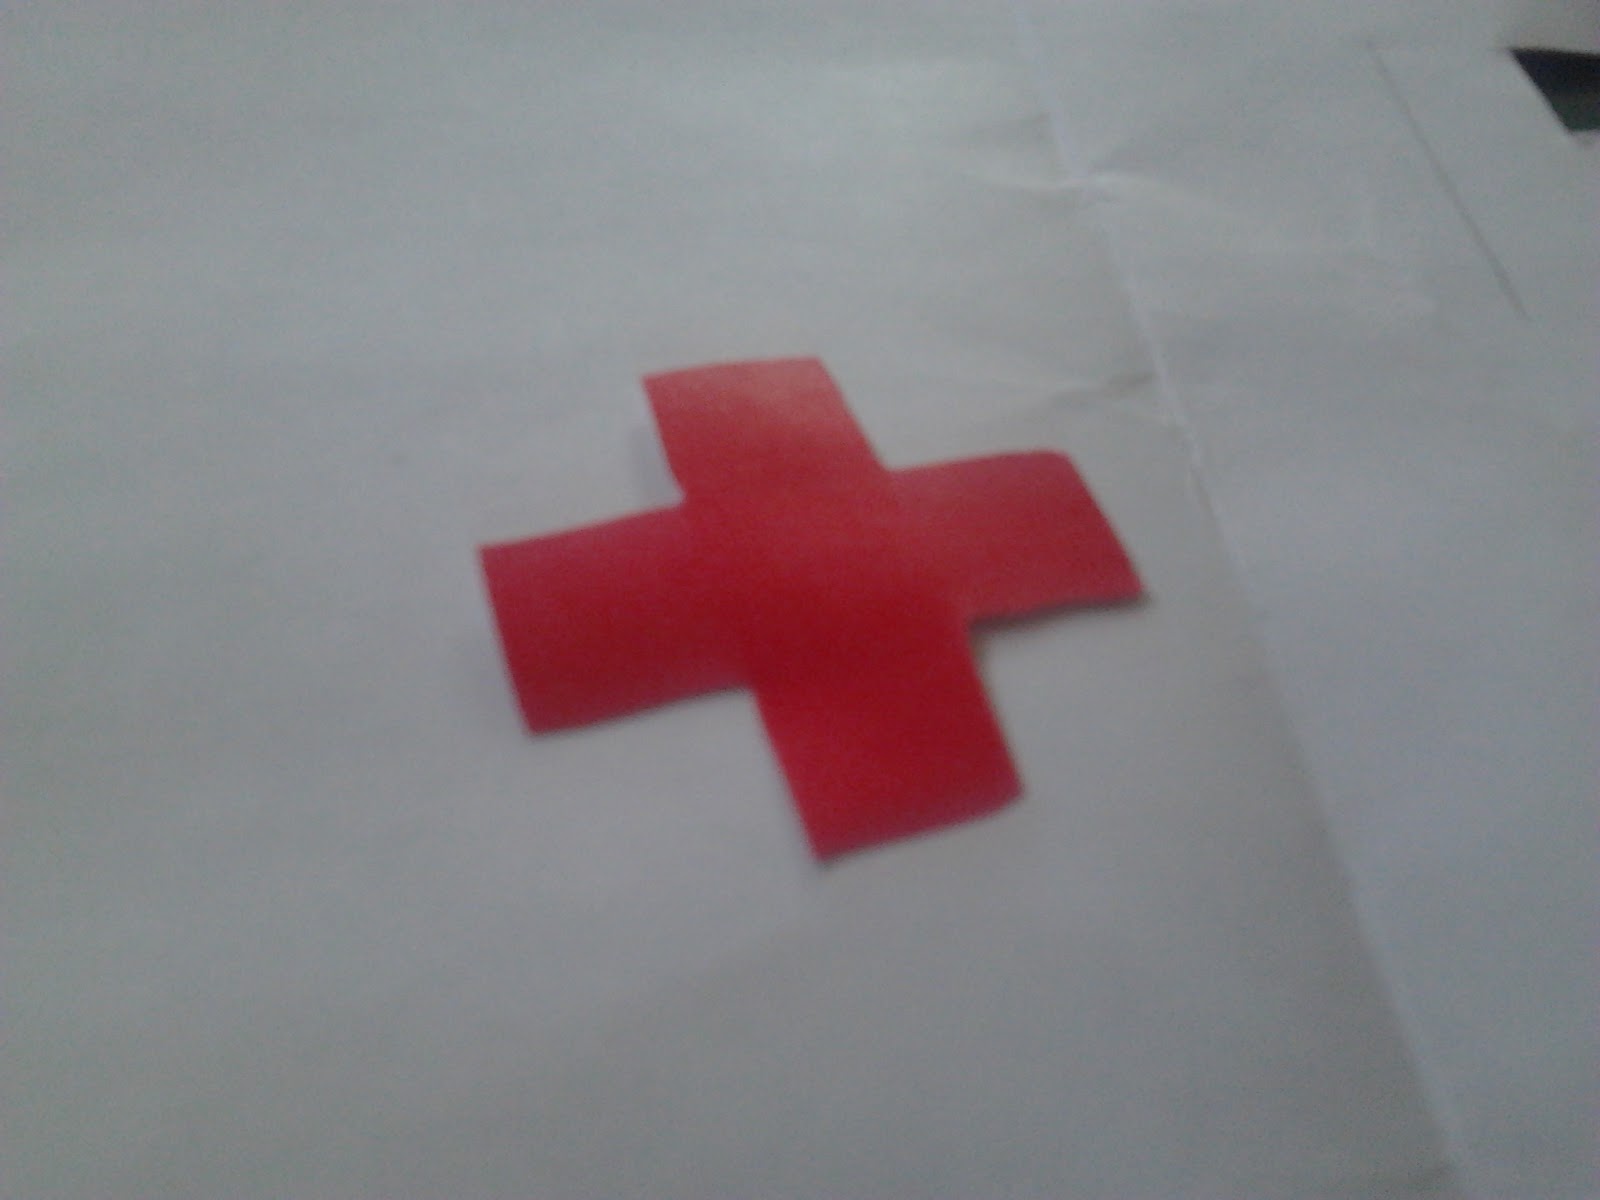 |
| Cut out and flipped over. |
Apply a layer of Mod-Podge to the top of the paper on your tin. Feel free to do this as thick or thin as you like--a thick layer will provide a more textured finished product, while a thin layer will be sleek.
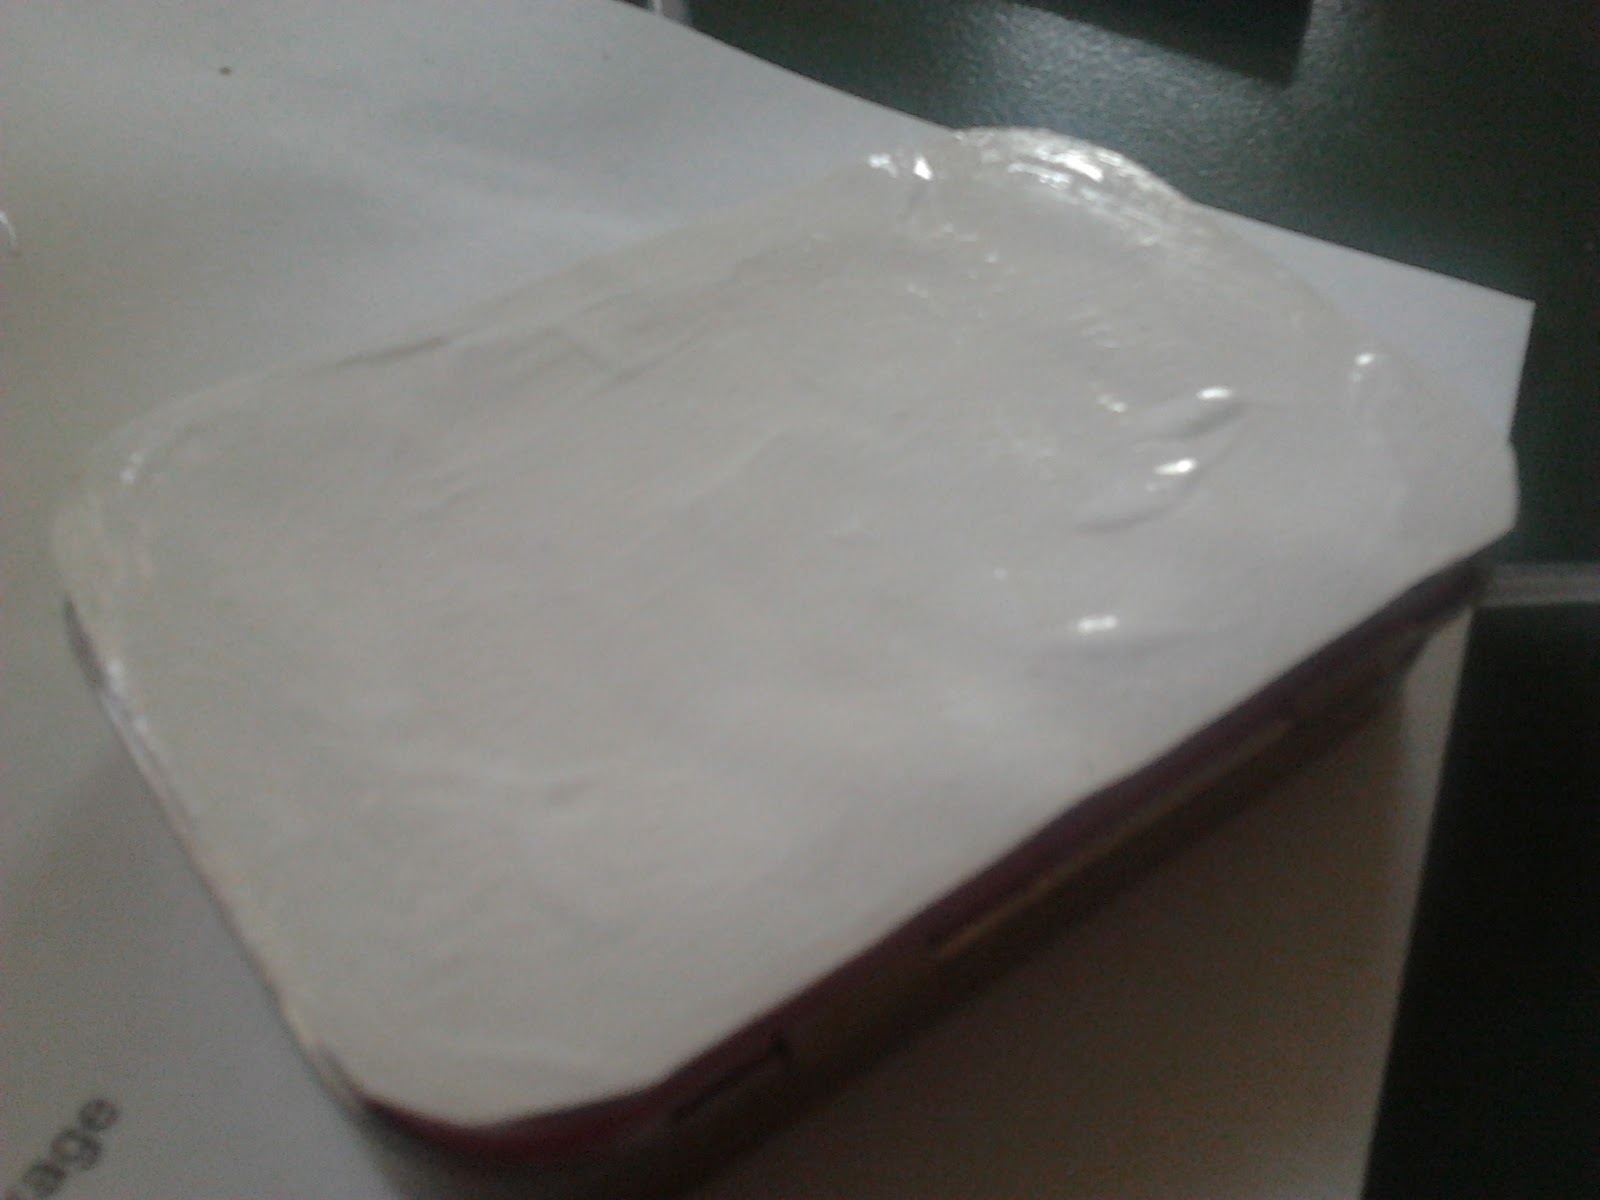 |
| You do want your paper to get pretty well soaked. |
 |
| Position it how you want it now. |
 |
| White now, clear later. Promise. |
 |
| Still not quite dry, but almost. |
Fill your finished tin with your supplies!
 |
| Secret bandaid tin! |
For the business card version, I simply trimmed the corners of the business card since the tin has rounded edges,
 |
| Chic? |
 |
| If you got Mod-Podge around the edge of your tin, you may want to leave them open to dry so you don't glue them closed on accident. |
For more tin repurposing ideas, check out The Art of Manliness's Twenty-Two Manly Uses for an Altoids Tin, Tested's fancy techie uses for Altoids tins, and Artists Helping Children's 15 Cool Crafts using Altoids tins.
Aah I love it! I don't have Altoids almost ever so I don't have any tins, but they are super useful! I saw a website somewhere, maybe one of your links, that had a bunch of cool uses and the one I thought was the awesomest was a mini fire-starter kit, complete with flint and tinder!
ReplyDeleteA fire-starter kit is such a good idea! People can do crazy complicated stuff with them--turn them into flashlights and things.
DeleteI think perhaps because they're still metal in a plastics world...there's just something somehow /attractive/ about them.